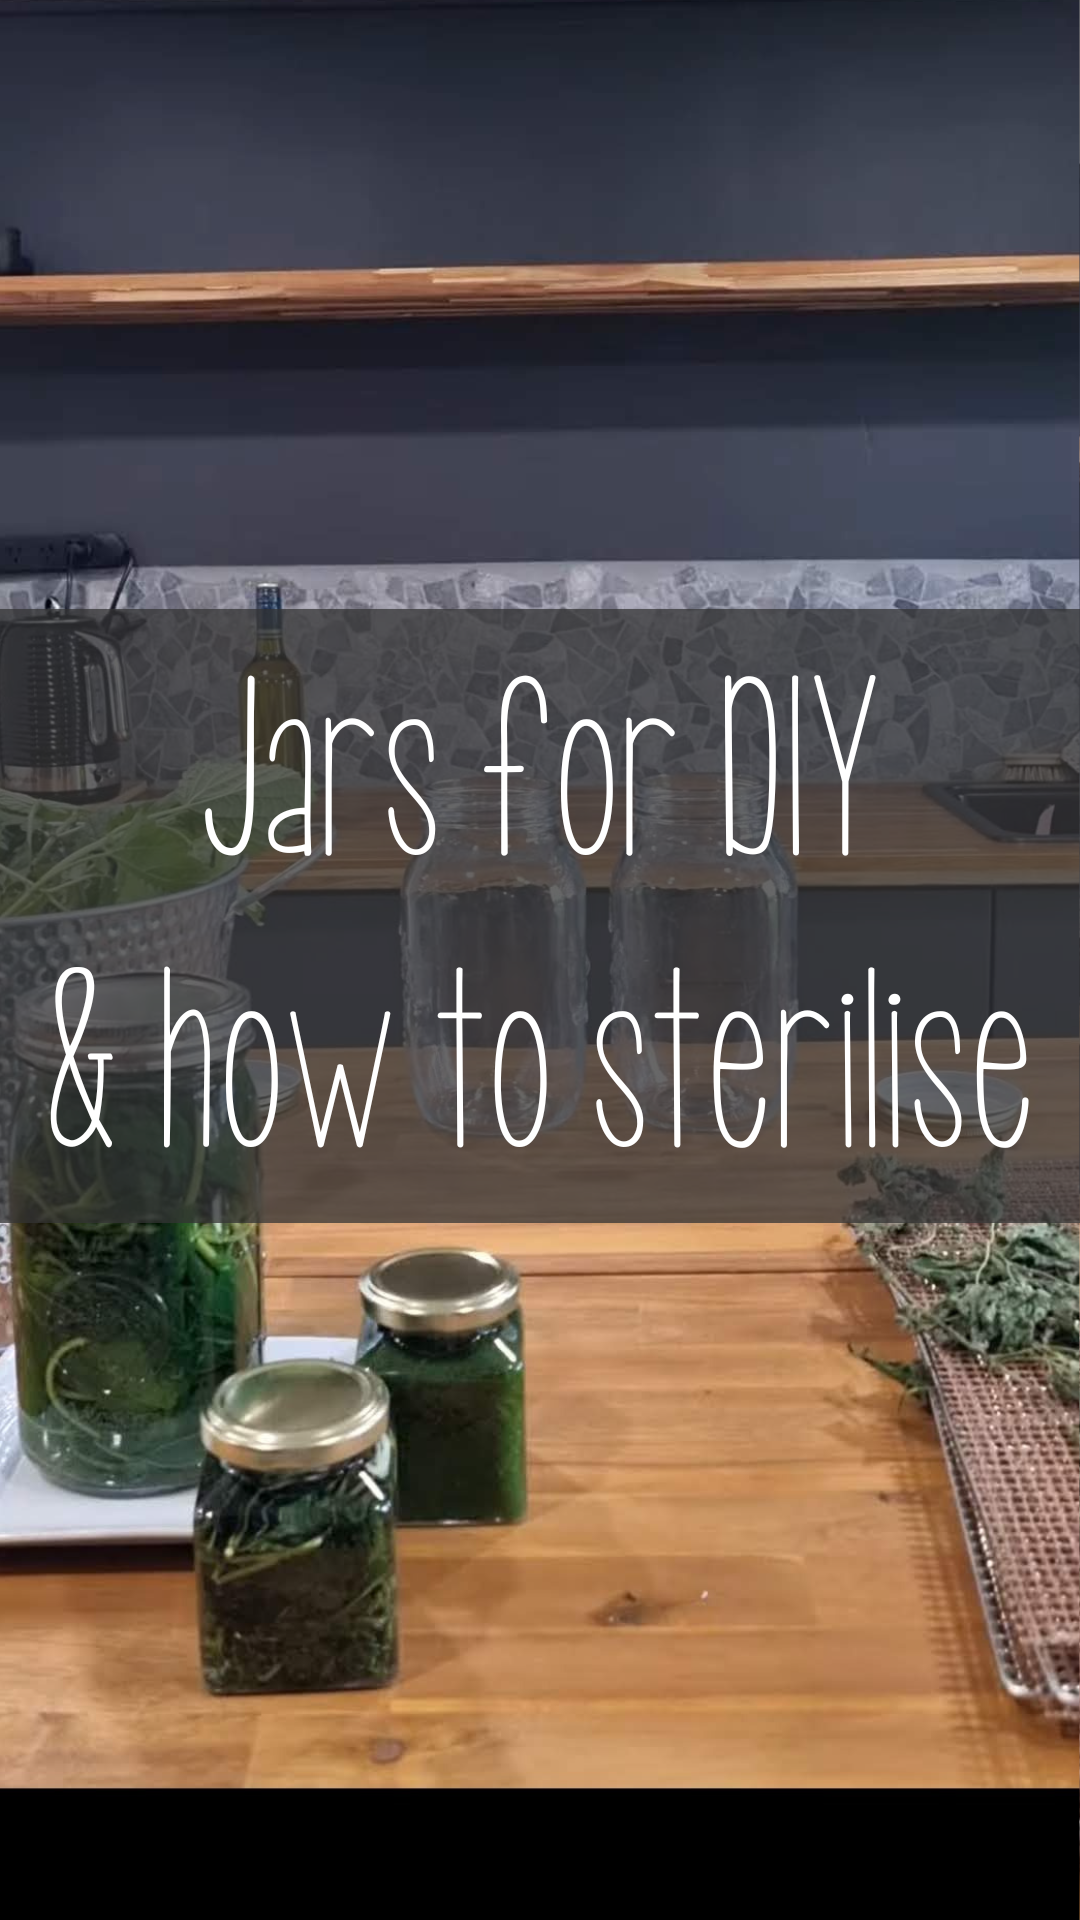
Sterilising jars for DIY projects

Video link to our utube short vid
The Importance of Sterilizing Jars for DIY Projects: Ensuring Safety and Quality
When embarking on DIY projects involving food, beauty products, or herbal infusions, one crucial step often overlooked is the proper sterilization of jars. Sterilizing jars is essential for maintaining the safety and quality of your creations. This article explains the importance of sterilizing jars, the dangers of bacteria, and provides a step-by-step guide on how to properly sterilize jars using shatter-proof options like Mason jars.
The Dangers of Bacteria
Unsterilized jars can harbor harmful bacteria and pathogens, especially if they contain water residue. Bacteria thrive in moist environments, and any remaining moisture in your jars can lead to contamination. This contamination not only compromises the quality of your DIY projects but also poses serious health risks. Consuming or using products from contaminated jars can lead to foodborne illnesses, skin infections, or other health issues.
The Benefits of Using Shatter-Proof Jars
When selecting jars for your DIY projects, it's essential to choose shatter-proof options like Mason jars. These jars are designed to withstand the high temperatures required for sterilization processes. Mason jars are made of durable, heat-resistant glass, making them ideal for ensuring your jars remain intact and safe during sterilization. Additionally, Mason jars come with airtight seals that help preserve the freshness and safety of your contents, preventing further contamination.
The Importance of Drying Jars Completely
After sterilizing your jars, it's crucial to ensure they are completely dry before filling them with your DIY products. Any remaining moisture can serve as a breeding ground for bacteria, undoing your sterilization efforts. Thoroughly drying your jars eliminates this risk and ensures that your homemade creations remain safe and uncontaminated.
How to Properly Sterilize Jars
Here is a step-by-step guide to properly sterilize your jars:
1. **Wash:** Start by washing your jars and lids with hot, soapy water. Rinse them thoroughly to remove any soap residue.
2. **Boil:** Place the clean jars in a large pot of water, making sure they are fully submerged. Bring the water to a boil and let the jars boil for at least 10 minutes. This high temperature kills any bacteria or pathogens present.
3. **Dry:** Using tongs, carefully remove the jars from the boiling water and place them on a clean, dry towel. Allow the jars to air dry completely. Make sure the jars are fully dry before filling them with your DIY products to prevent any bacterial growth.
Ensuring Safety and Quality in Your DIY Projects
Properly sterilizing your jars is a simple yet vital step to ensure the safety and quality of your DIY creations. Whether you are making jams, beauty products, or herbal infusions, taking the time to sterilize your jars can prevent contamination and health risks. By using shatter-proof jars like Mason jars and ensuring they are thoroughly dried, you can enjoy your homemade products with peace of mind.
Incorporate these sterilization practices into your DIY routine to protect your health and enhance the quality of your projects. Your efforts will not only preserve the integrity of your creations but also contribute to a safer and more enjoyable DIY experience.
By understanding and implementing proper jar sterilization techniques, you can confidently create and store your homemade products, knowing they are safe from harmful bacteria and contaminants. Embrace the importance of sterilization to elevate the safety and quality of your DIY projects.


Comments